OK, we are up to the armhole shaping, yes?
Would it surprise you to know that this is where I find the biggest problem with this whole pattern? Oh yes, it is. Because I am a Efficient Knitter. And the armholes (and subsequent sleeves) on this pattern are WAY more work than they are worth. They are what is known as a square shoulder style, and they are my least favorite kind of armhole in the knitting universe.
Let’s see if I can convince you to agree with me.
First, a little background about sleeves and sleeve shaping.
There is a continuum of sleeve shapes: ranging from not-shaped-at-all drop shoulder, through partially-shaped square or raglan shoulders, to a fully shaped set-in sleeve. Let’s draw them.
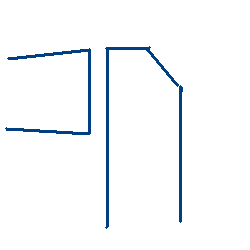
Drop shoulder — very simple to design and to knit. Very casual fit. Easiest to seam.
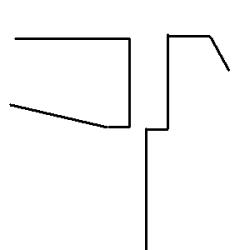
Square shoulder — fairly simple to design and to knit. Not much better fit. Difficult to seam.
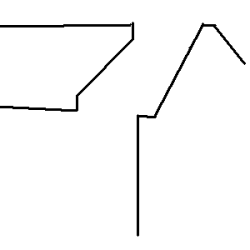
Raglan shoulder — a little more complicated, but still pretty easy to design and to knit, since it is still straight lines. Pretty decent fit. Moderately difficult to seam.
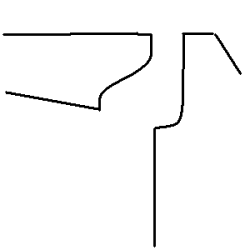
Set-in sleeve shoulder — can be a bear to design, especially the sleeve cap. Somewhat tricky to knit; best fit. Difficult to seam.
You can see that the top two sleeve styles don’t have a whole lot of shaping, while the bottom two have quite a bit of shaping. And this corresponds directly to how easy they are to design or to knit, and also to how tailored a fit you’re going to get.
HOWEVER — the square style sleeve loses badly on one really enormous, important point. It’s not that hard to knit, and it follows that the fit isn’t a great improvement over the drop shoulder style — but it is every bit as difficult to seam as a fully set-in sleeve — possibly even a little harder.
One problem lies in the fact that there is underarm shaping on the body, so you have to seam that sleeve cap to fit smoothly and exactly in between the underarms. If that weren’t enough, you have seams that involve stitches-to-rows and rows-to-stitches. Also a tricky right-angle corner that is tough to make look good — because a lot of that depends on getting that sleeve cap to fit perfectly between the underarms. Even on a full-blown set-in sleeve, you can fudge the underarm part a little bit if you absolutely have to. Not so on this bad boy.
I’ve only ever knit one square-shouldered sweater in my life, and it was a pain to seam, and the fit was still crap. All that extra work for practically no benefit. I’ll never do another one.
Fortunately for us, and this project — there are other ways. For one thing, babies generally don’t care about tailoring. So an easy-peasy drop-shoulder sleeve style is perfectly acceptable here.
And since seaming takes up a lot of time, and many baby sweater knitters are on a deadline — why don’t we just get rid of the seams entirely? Sounds like a good idea to me!
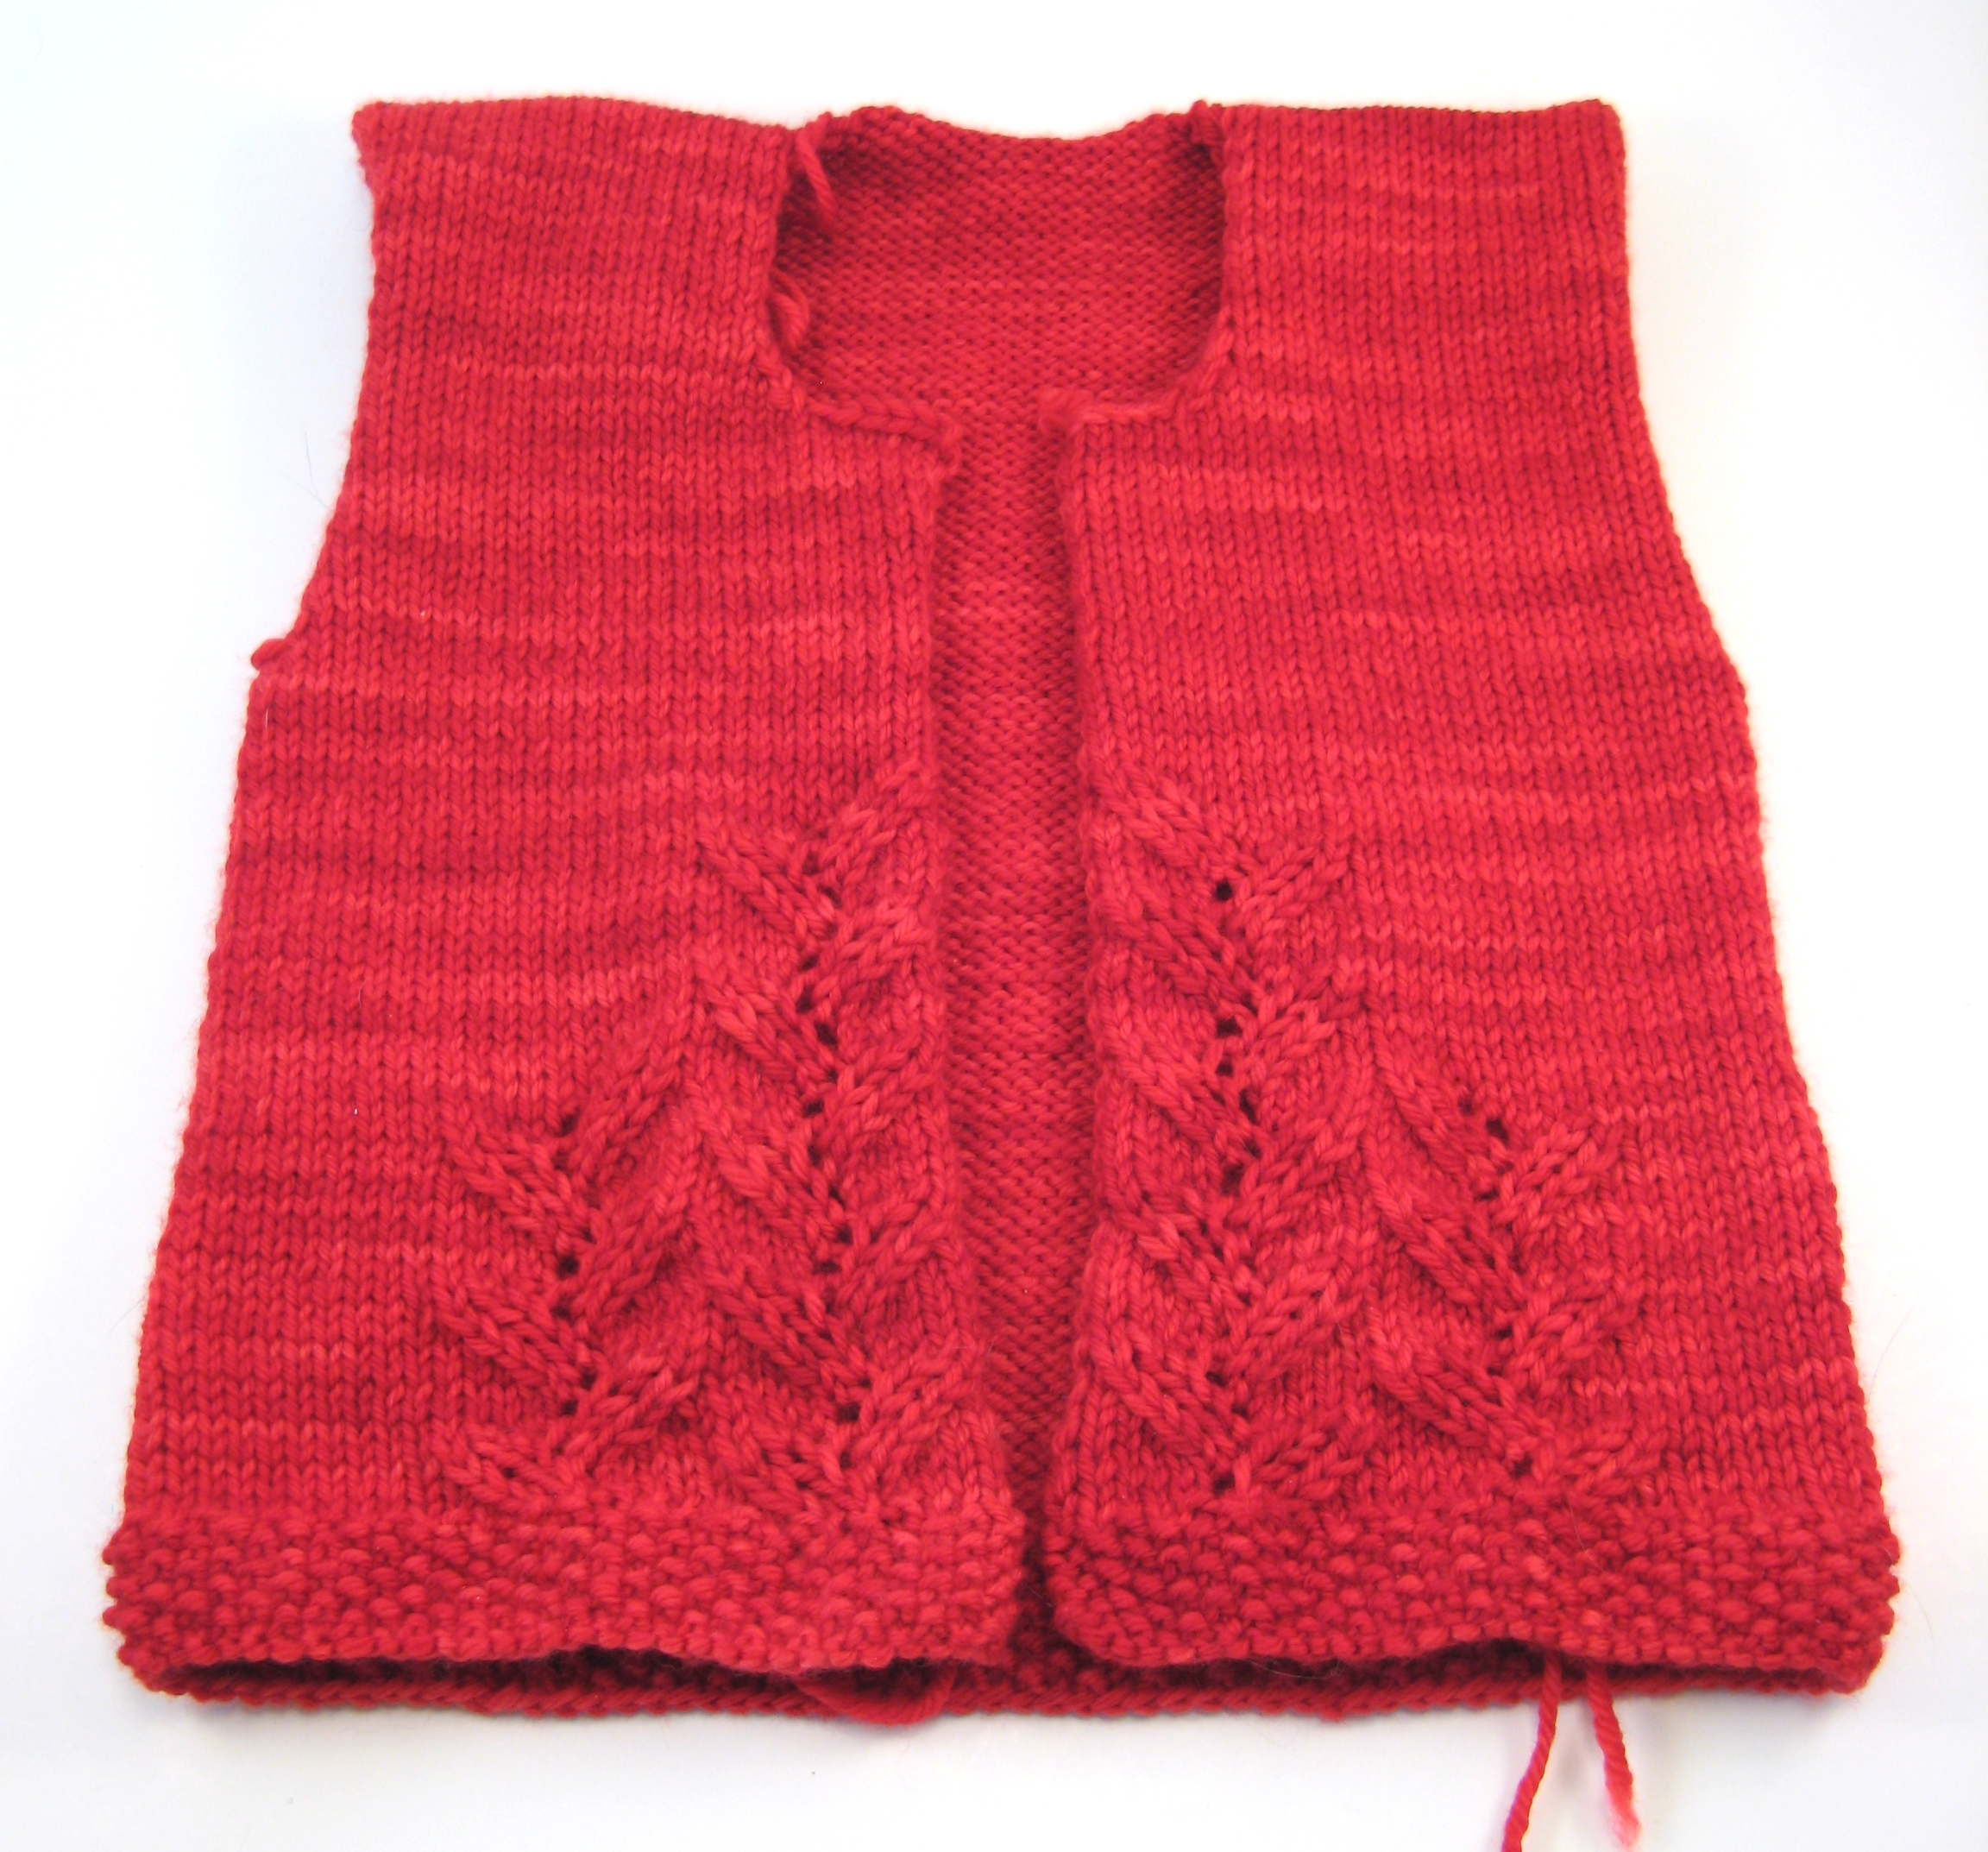 So now we have change #5: make it a drop-shoulder sleeve, and change #6: knit the sleeves directly onto the body.
(1) Where the pattern says to bind off sts for the underarm, I’ve just split the fronts from the back and not bound off any sts. I knit the fronts and the back straight up on the armhole edges, although here it kind of looks like there is a tiny bit of shaping due to the edges curling under. I promise there is NO SHAPING on that armhole edge. I followed the neckline shaping given, although I had to pay attention to the fact that when they say “(X) sts remaining”, I will have a few more than (X).
BTW, note that in the neckline shaping, they say, “Dec 1 st at neck edge this row, then EOR 1 time.” Another sign that this pattern was probably written using software. No human being would write that sentence. It would be more natural to say something like, “Dec 1 st at neck edge this row, and on next RS row.”
(2) I’ve joined the shoulders with a 3-needle bindoff, to eliminate the shoulder seams.
(3) I’m going to knit up sts around the armholes and work the sleeves from the top down, in the round. This eliminates the problem of fitting a sleeve into an armhole that’s already assembled — if you’ve ever done that you know it’s not easy! — plus it gets rid of the seam up the sleeve. I can still use an approximation of their sleeve shaping, and won’t have to totally redo the math (remember, babies aren’t wild about tailoring). We’ll cover all that in more detail in the next post. Win-win-win!
Important note: one reason I can get away with this is that the sleeves are rather plain. If this pattern had any kind of all-over pattern stitch, I’d have to take into consideration that working the body bottom-up and the sleeves top-down would mean the pattern would face different ways on the sleeves and the body. In this case, not a problem.
However, it occurs to me that a little bit of the lace pattern at the bottom end of the sleeve would look nice, too. I don’t think the directional change would be so obvious as to look weird, but that choice is entirely personal opinion. I feel like that is exactly the sort of thing that one person doesn’t mind or even notice, while it drives another person completely nuts.
See you when we hit the sleeves!
