All of us yarn aficionados have at some point come up against the “mystery stash” question: How do you figure out what kind of yarn is in that unlabelled ball?
The definitive method looks at the microscopic structure of the fiber(s). However, most of us don’t have a microscope sitting around the house. So what to do?
Since I volunteer at SCRAP and sort a lot of yarn there, I have some ways to answer that question, or at least get close, without the use of a microscope. There are 3 test methods that I know of that work pretty well, using common household items, to rule in or rule out various kinds of fibers. In order of ease and safety, they are:
- the break test
- the bleach test
- the burn test
Break Test
The break test is simple, and one that I haven’t seen posted much elsewhere.
The basic idea is that you can break 4-ply worsted weight wool yarn by hand, while you cannot break cotton and synthetics.
In fact, this is why old British/UK knitting patterns usually say, “break wool” or “break off” at the end — it comes from the days when virtually all knitting was done in wool.
Obviously this test has its limits as yarn gets thinner or thicker — you can definitely break, say, cotton sewing thread by hand. But overall, even cotton crochet thread is tough to break, whereas a much thicker worsted weight 4-ply wool is still easy to break. And a piece of recycled sari-silk style yarn is impossible (unless you untwist it, which is cheating).
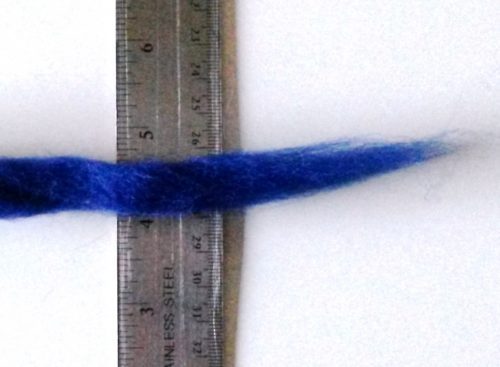
A piece of Super Tuff Puff, broken by hand
On the other end of the spectrum, I can still break a strand of Knit Pick’s “Super Tuff Puff”, which clocks in at a whopping half an inch wide — but that is a single, whereas I doubt I could do it if it were a plied yarn, because plying adds strength. And no way could I break a bulky synthetic — unless it were a lot of bulk wrapped around a skinny core, for instance.
So some of this test’s success definitely depends on the size and structure of the yarn. It’s probably safe to say that the more “normal” the yarn is, the more likely this test is to hold true.
At my volunteer gig, I use this test to separate 4-ply worsted weight wool — the most “normal” weight and structure of yarn in existence — from 4-ply worsted weight synthetics. I recently tested the efficacy of this test by taking a bunch of the broken-off ends home, and verifying with the bleach test (see next test). Only one piece out of 27 failed that test, and I think the holdout was still at least a blend. So you’re looking at less than a 4% failure rate, which is pretty good.
CONCLUSION: while this method is simple, and has size/structure limitations, it works reasonably well for testing average-weight yarns for wool content.
Bleach test
This test depends on the fact that household chlorine bleach dissolves protein. This is why it is such an effective disinfectant, and it’s also why your skin feels slippery if you get bleach on it: it is actually dissolving away the top (dead) layer of your skin!
So if you use this test, please be sure to do this only in a well ventilated area with proper protection, and try not to get bleach on your skin at all.
You’ll need a nonreactive dish (glass or plastic) to hold some bleach, and some tweezers or a chopstick or other pokey tool, with which to maneuver your samples. Also a sink to dump your bleach in when you’re finished.
Start by pouring a healthy amount of bleach into your testing dish. I’ve read posts that suggest you can just pour some into a jar and use the same bleach indefinitely — this is not the case. Bleach loses its effectiveness fairly quickly when exposed to air, and I have found there is a limit to the dissolution load — in other words, to how much protein will dissolve in a given amount of bleach — and it’s not that high. So first, be sure to use enough bleach, and for best results, use fresh bleach for each test. In the photo below, I didn’t really have enough — I had to add fresh bleach a couple of times, to dissolve all the wool that is present there.
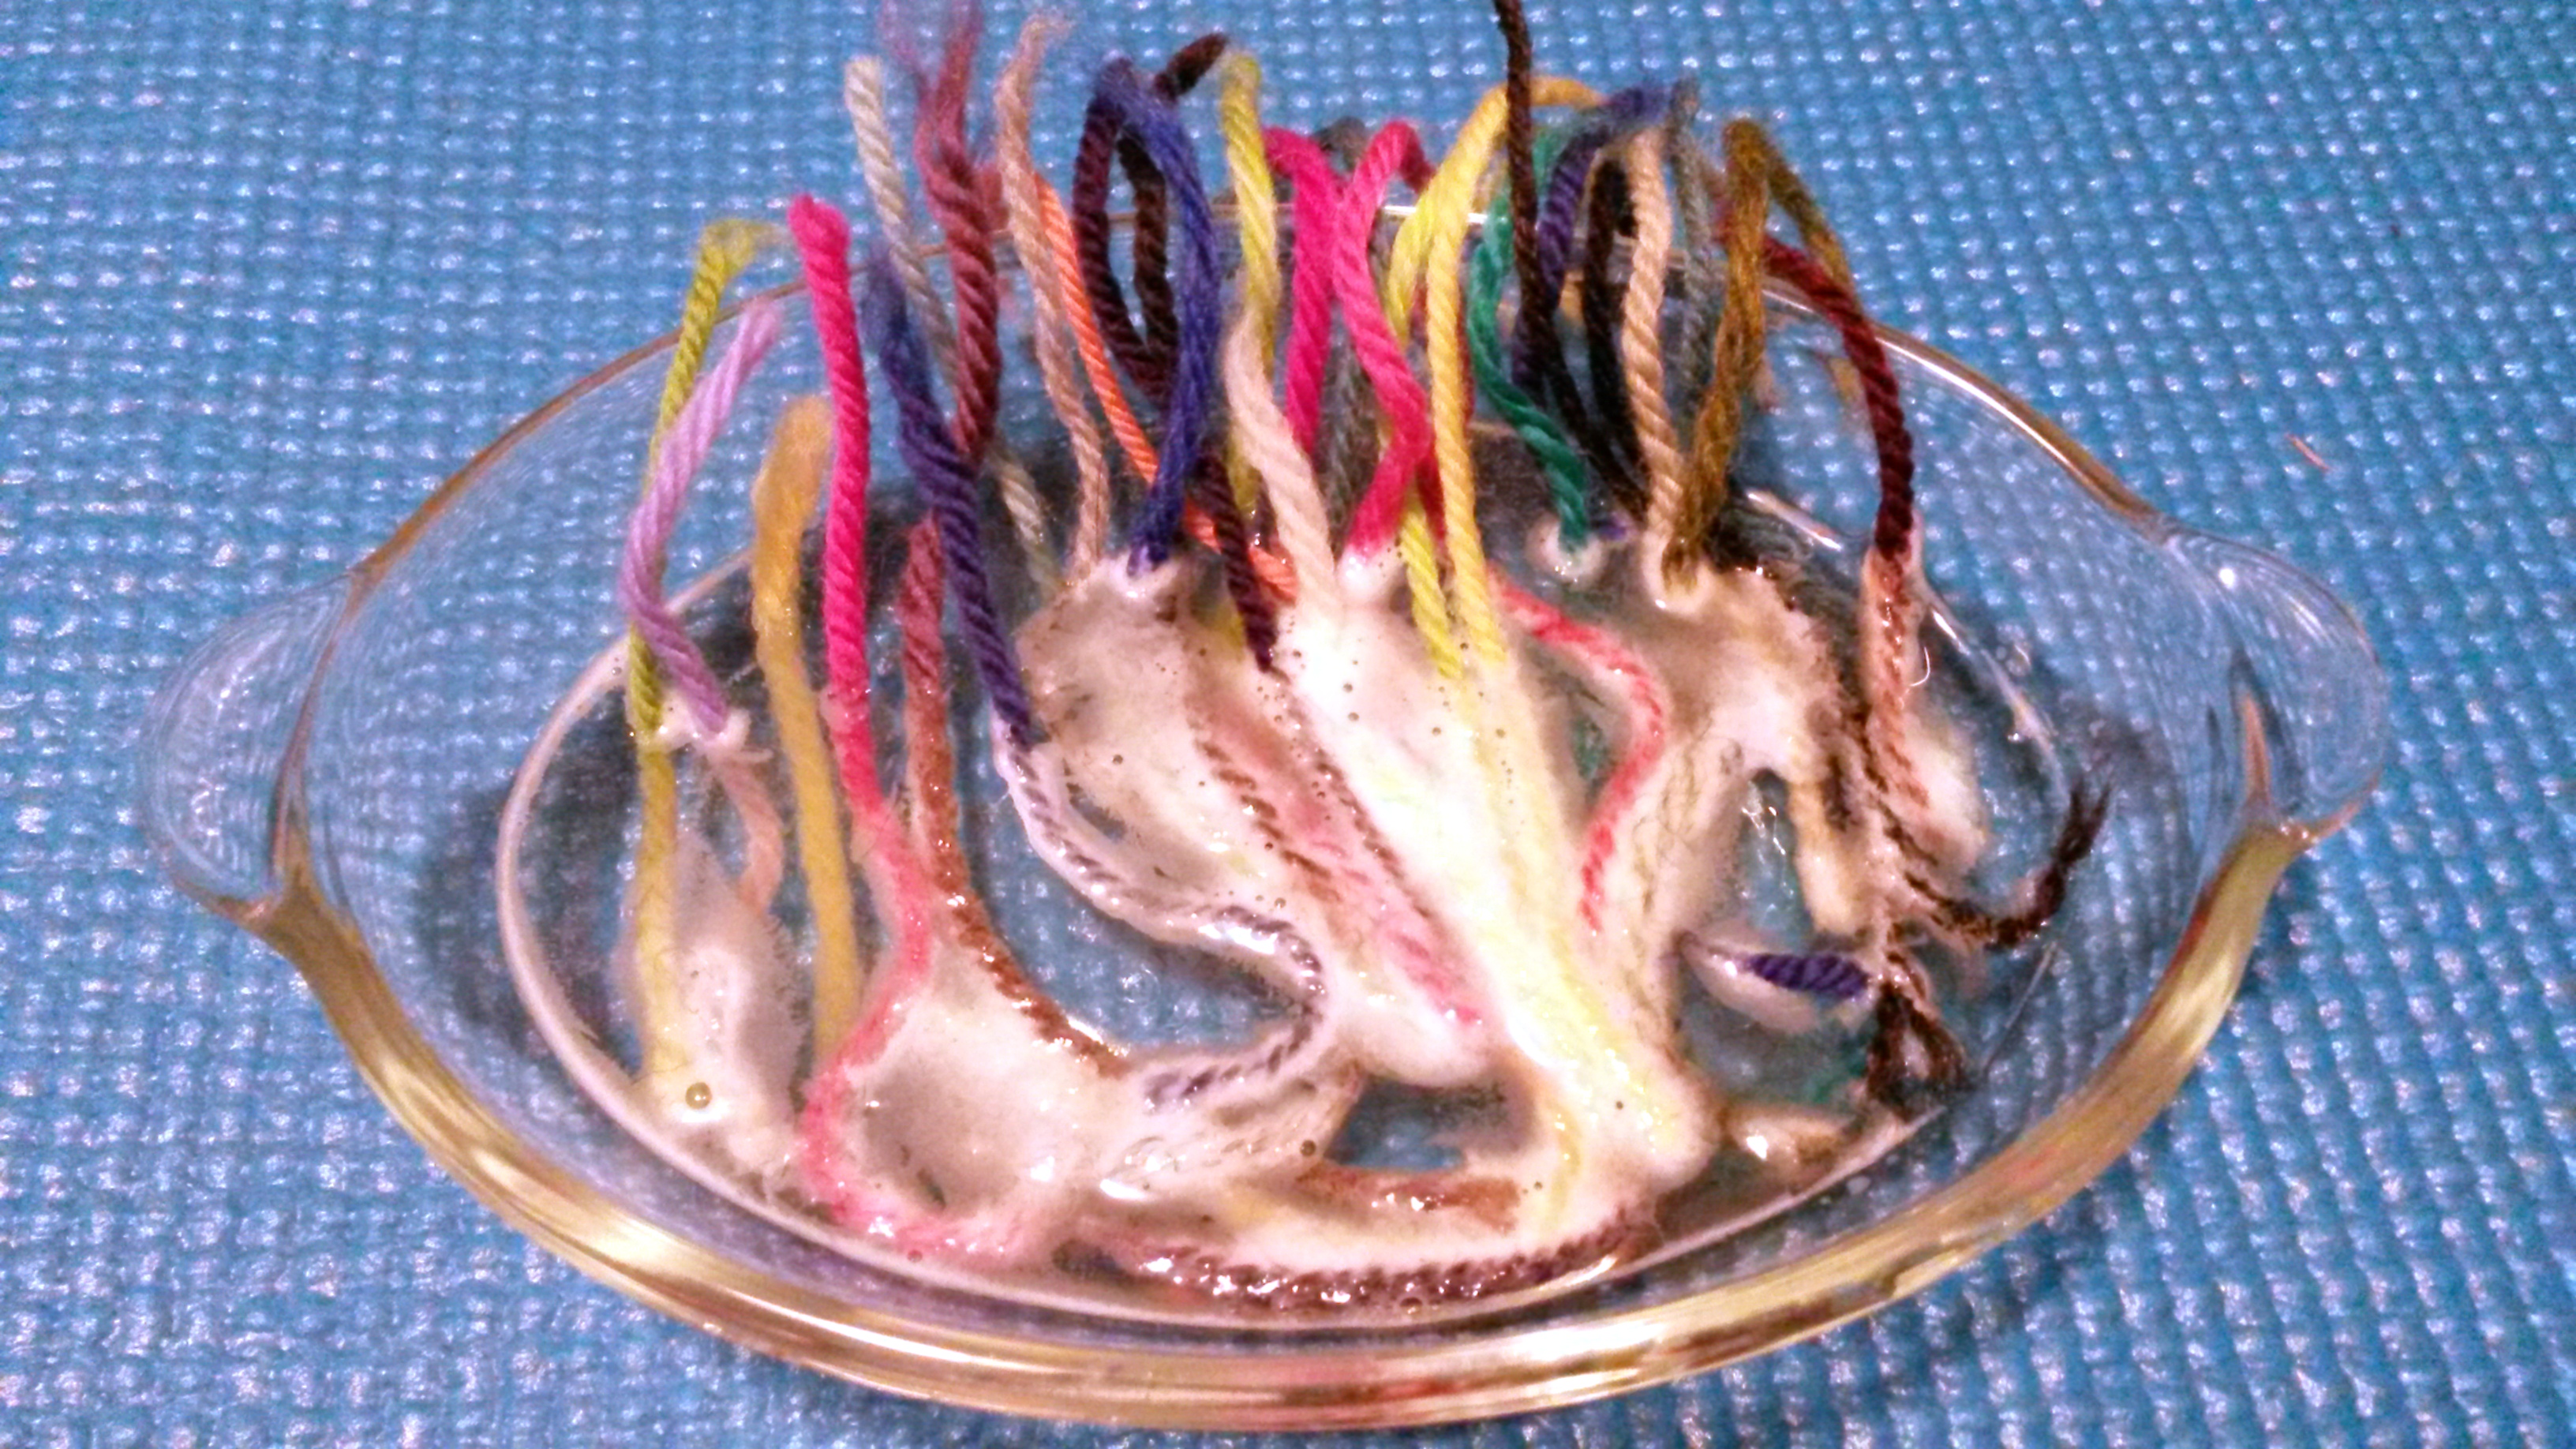
The bleach test in action
Once you have your bleach poured out, put your samples in it. Use your tool to poke them down into the bleach and get them saturated. If you are testing more than one sample at a time, this is also a good time to take a picture of your sample dish, because there’s a good chance those samples will dissolve and disappear, or maybe even float around, and it can be hard to tell after a while what exactly was where.
If your samples are protein fibers, you will probably see it start to FIZZ! This is the protein actively dissolving.
Then, wait a while and see what’s left in your dish. If you want to be certain, you can wait 24 hours — in my experience, the whole process is a lot faster, with most wool dissolving away in about an hour or two.
There are some excellent pictures showing the whole procedure, and the difference in results between a piece of all-wool fabric and a partially synthetic fabric, at this site. It’s fabric, not yarn, but the idea is the same: if it is all protein fiber, it should dissolve completely. If it is a blend, you’ll see some remaining fibers after the protein has dissolved away.
Note that site says “If there are any distinguishable fibers, these fibers are not wool and represent the man-made content of the fabric.” This is not strictly correct: if you have fibers left, it doesn’t necessarily mean they are synthetic — because bleach only dissolves protein, and the remaining fiber could be synthetic OR it could be a plant fiber, such as cotton or linen. Plant fibers will be unaffected by bleach, except for one thing: they will lose their color. So if you have colored fibers remaining, you definitely have something synthetic in there.
Silk is also a protein fiber, but it is a different protein than animal fibers. Still, it is protein and will dissolve in bleach, although usually more slowly.
Unfortunately, there is no test method that I know of, besides the microscope, to differentiate between the animal fibers: wool, alpaca, mohair, etc. So once you confirm that it’s a protein fiber, if you want anything more than that you’ll have to learn to rely on other characteristics such as appearance (wool has a crimp while alpaca is smooth) or density (alpaca is heavy, mohair is light).
CONCLUSION: this method is a little more involved, but it is more definitive, at least when it comes to protein fibers, and it’s better at identifying blends. If it dissolves, you can be sure it’s protein. If it doesn’t, you’ve got a few more questions.
Burn test
The fiber world must be full of pyromaniacs, because the burn test seems to be the one that has the most fans, judging from the amount of articles and posts available. To be fair, though, it may also be the most conclusive of the three tests discussed here.
There is a LOT of info out there already that I’m not going to reproduce. The short version is, you use tweezers or something safe to hold your sample close to an open flame, such as a candle, and observe what happens, including:
- how it burns
- whether it glows
- what the smoke looks like
- how it smells
- what is left afterwards
My personal catalog of knowledge extends as far as this:
- animal fibers smell like burning hair
- plant fibers smell like burning paper
- synthetics melt and create a bead, while natural fibers create an ash
This gets me as far as distinguishing between animal fiber, plant fiber, and synthetic fiber — and that’s generally good enough for me.
One nicely succinct article on burn testing is from Threads, where they refer to it as “trial by fire”. Again this was written for fabric, but the info is also applicable to yarn. It has a short video and a downloadable pdf file of burn characteristics to keep around for reference.
Again, always be safe when doing this kind of test. I like to do it over a sink, both for availability of water and fireproof-ness of surface. Additionally, you should make sure long hair, sleeves, and even scarves are tied back or removed — this is a precaution I almost never see spelled out in other articles.
Finally, while the Threads article is a good intro, my favorite burn test chart is this one — I like it because not only does it cover more fiber types, it also is the only one I’ve found in the form of a flow chart, where you answer a series of questions that leads you to the right answer, rather than having to memorize the various characteristics of cotton, wool, acetate and so on. I’ve found this helpful in ruling some types of fibers out, in cases where a positive ID isn’t possible.
CONCLUSION: this method is the most involved, but it can differentiate between more types of fibers — although it takes a certain amount of experience to get much past animal/plant/synthetic. And blends can be really difficult to identify.
Combining Tests
Finally, one more point I rarely see mentioned elsewhere: if you’re stuck on something that you just have to identify, consider combining these tests for confirmation or accuracy, where possible.
For example, as mentioned above, I use the quick-and-dirty break test at SCRAP to rule out a lot of acrylic 4-ply yarns, and then I use the bleach test to confirm what I’ve gathered as wool.
Another example might be to use the bleach test to remove protein fibers from a sample, then dry out what’s left, and burn test that to see if the remaining fiber is cotton, rayon, or synthetic.
With these three tests in your toolbox, you just might be able to identify some of those mystery yarns after all!